You are here
Tumbler Fish: A Free EPP Pattern for Your Piecing Pleasure
 I couldn't resist adding my two cents to the EPP Borders Blog Hop, even though I wasn't an official participant.
Several weeks ago, I had one of those flashes of inspiration and came up with the idea of turning tumbler patches into little fishies. They work perfectly! And so I contacted the lovely folks at Paper Pieces, where I get my tumbler templates, and offered them a free Tumbler Fish pattern to share on their website.
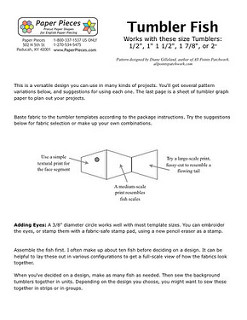 They said yes, and so I came up with five cool designs for these fishies, some fabric suggestions, and a sheet of tumbler graph paper for designing on, and set up a free PDF - which you can grab right over here.
I think these little guys work a lot like hexie flowers - they're easy to assemble, and then you can make all kinds of designs with them depending on how you arrange your fabrics. And there are good opportunities to use fussy cuts on the body and tail sections!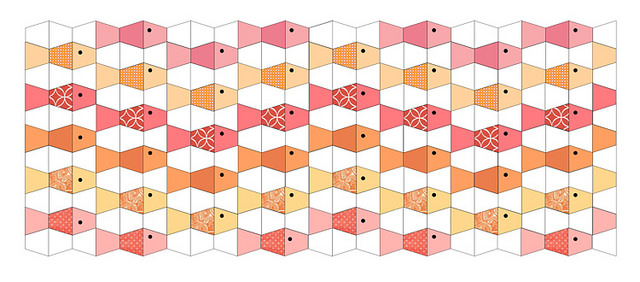
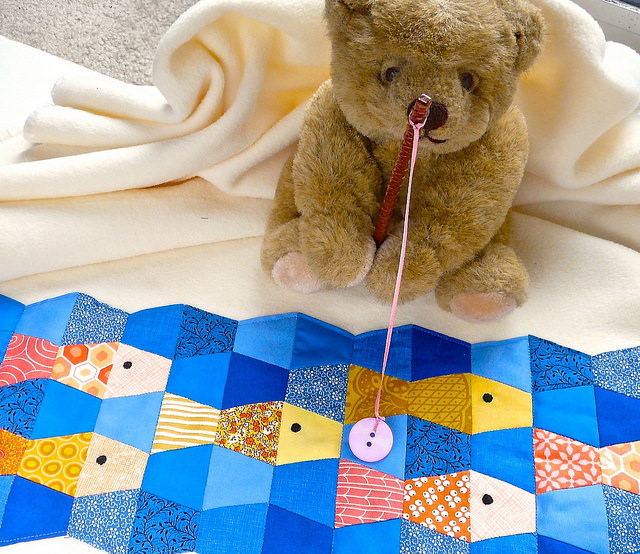
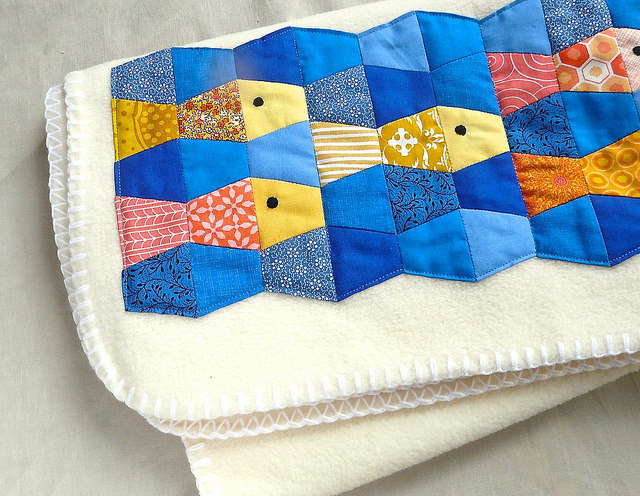
For this baby blanket, I used a few rows from "School of Fish," one of the five designs in the free pattern, and then added an extra row of background fabrics along the top and bottom edges. I made my fish out of random scraps, and used five blue background fabrics (some subtle prints and some solids), mixing them up randomly.
(This is a good moment to mention that these fish work great with any size tumbler template - 1/2" long, 1", 1 1/2", or 2". It all depends on how big your project is and how big you want your fish. I'm using 1 1/2" tumblers here.)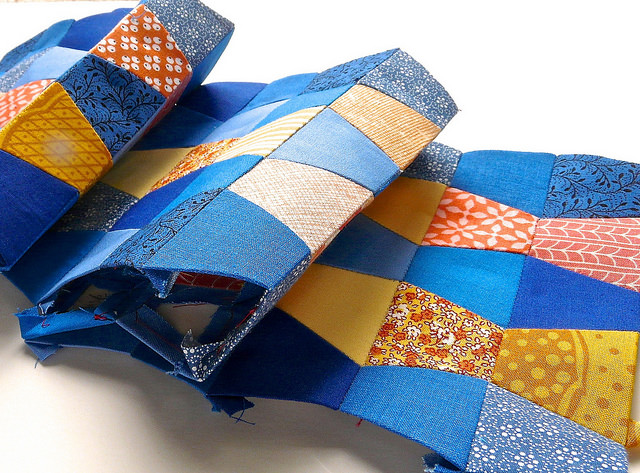
I made a 33" long strip, which was a little longer than the width of my readymade baby blanket. My original plan was to have the patchwork go all the way to the bottom and both side edges of the blanket. But then the blanket I'd ordered arrived, and lo and behold, it had a blanket-stitched edge and rounded corners. Oops!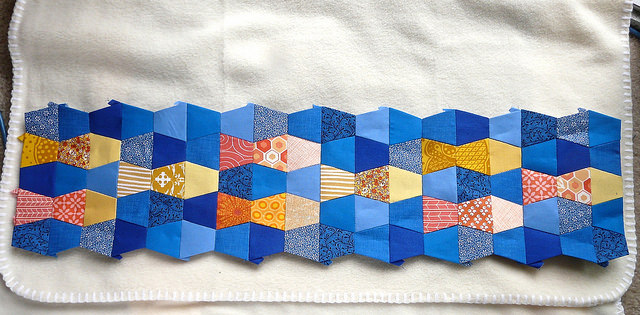
So I decided to simply have the patchwork strip fit within the end of the blanket. I whipped out my seam ripper and shortened it a bit. In craft and in life, curveballs show up and we improvise. :-)
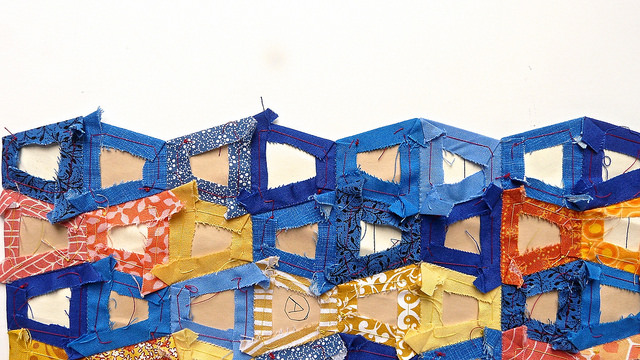
I pressed my finished EPP border carefully, making sure I pressed all the sticky-out bits along the edges to the back (as you can see on the right side, above). Then I peeled out the templates, and pressed the whole thing once again.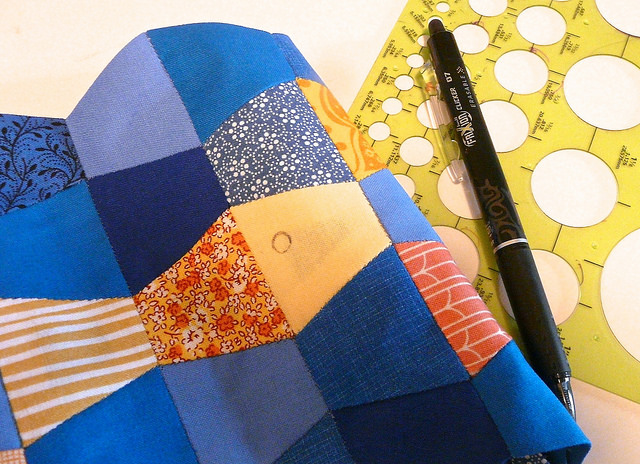
I decided to embroider my fish eyes, so I used a circle template and a heat-soluble Frixion pen to draw a circle on each fish. Then I outlined each circle with a tiny back stitch and filled in with satin stitch.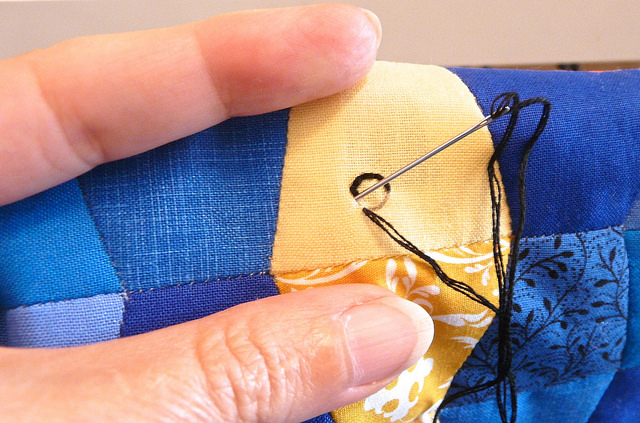
I didn't want to use an embroidery hoop for fear of stretching my patchwork out of shape. So instead I simply stitched on the unstretched fabric. This is a technique I figured out from pure laziness, and I use it whenever I have just a tiny bit of stitching to do and a hoop is impractical. You can see in the photo how I'm holding the fabric; and I'm very gently pulling it taut with my fingers. Then when I stitch, I'm careful not to pull those stitches too tight.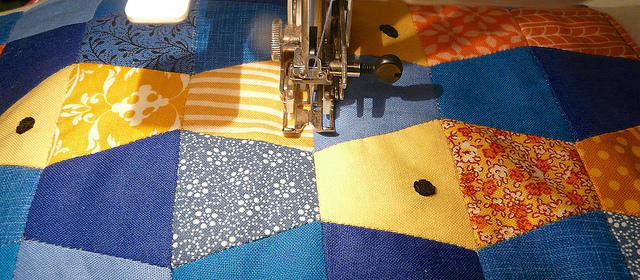
From there, it was super straightforward - EPP borders are like that. First I placed the border on my blanket, measuring the distance from the bottom to make sure it was straight. Then I pinned the layers together all over. And then I machine stitched 1/8" from the outside edges.
Since this is such a large applique, I also wanted to anchor it at a bunch of internal points, so it would be more bonded to the blanket. I just "stitched in the ditch" along each line where fish heads met fish tails, as shown above.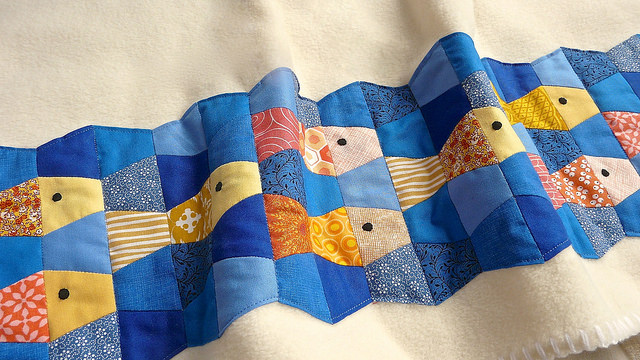
...And that's that! If you make yourself some Tumbler Fish, I'd love to see what form they take. You can tag me on Instagram or shoot me an email.


![Validate my RSS feed [Valid RSS]](../../../sites/files_cp7/valid-rss.png)
Comments
You arre soooo creative! I really like the fish pattern - makes great baby/young children quilts. Keep on with that great creativity!
If you don't like to stitch by hand, Missouri Star Quilting Co sells a tumbler template that would work great for this design, and you could piece the quilt in vertical rows.