You are here
How to Make a Needle Book With a Built-In Pin Cushion
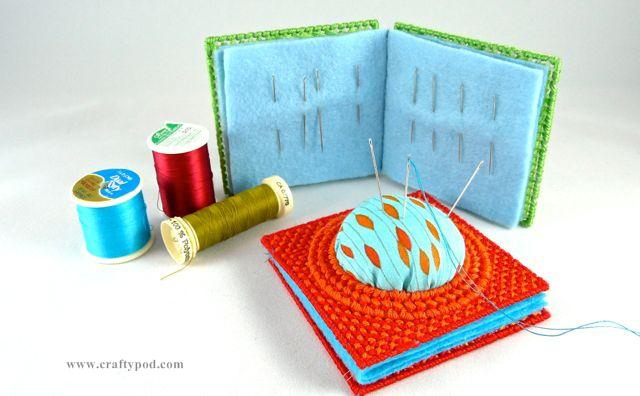
This project came out of a bad habit of mine. I have a little felt needle book, and I'm always sticking my needles right into its front cover, rather than neatly putting them back in the book. So the poor thing is looking really beat-up with all that stabbing, and every time I need to get a needle out of it, I have to cope with the sharp points of all the needles I stuck through it.
So I decided to make a version with a built-in pincushion. And it occured to me that plastic canvas was a perfect medium! So here's how to make your own...
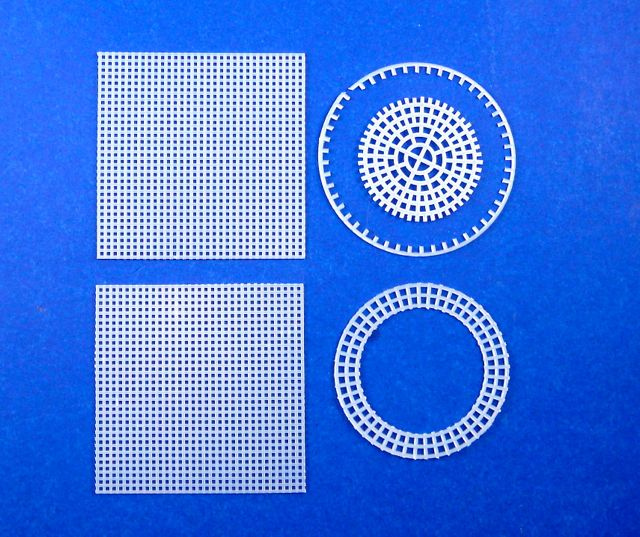
First, cut your PC into the pieces you'll need. Here, I'm using two 3 1/8" squares of the smaller (10 count) stuff. You can also use the more readily-available 7 count canvas; just cut it somewhere close to that size.
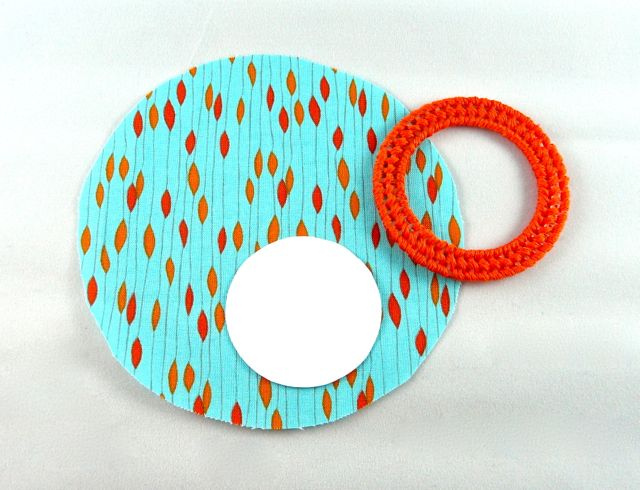
I also cut up a 3" round so I could get a nice ring. I removed the outermost row of squares and the inner section. (A little pair of scissors will let you manuver in there, or you can use an Xacto knife. If any little "nubbins" are left sticking out at the edges, cut 'em with toenail clippers.)
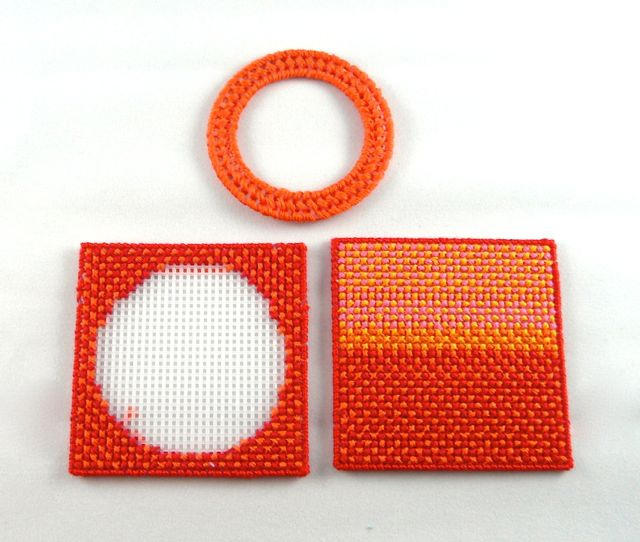
Next, stitch your PC any old way you like. For the front and back cover, I used cross stitch, alternating two colors, and using full strands of six-strand embroidery floss. You can really use any stitch pattern you like. Just leave a big opening in the center of the front - I'll explain in a moment.
For the ring, I just used regular old tent stitch all the way around. Since this piece is made from a larger grade of canvas, I used two strands of that six-strand floss to get good coverage.
...And I finished the edges of all three pieces with overcast stitch.
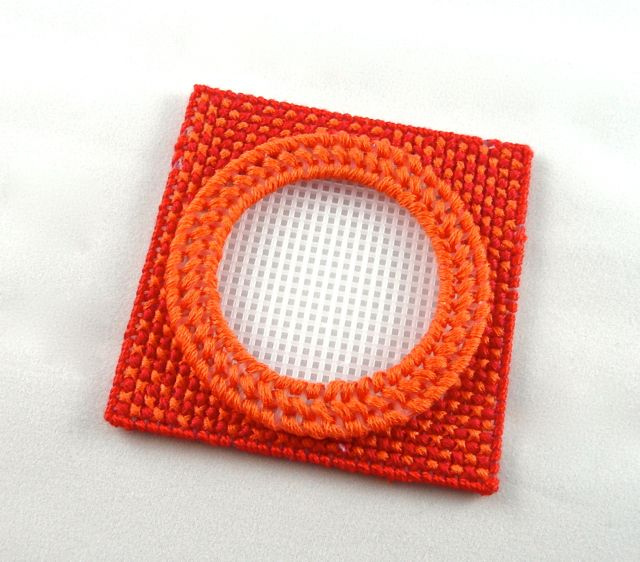
As you're stitching that front cover piece, keep placing the ring over it to make sure you're covering the canvas up to the edges of the ring. But leave the center as is.
With that done, we'll make a pin cushion. Here's what you need:
- A circle of fabric that's twice the diameter of your PC ring
- A circle of card stock that's about 1/4" bigger than the inner hole of the ring

We'll make a yo-yo from the fabric circle. Fold 1/4" over to the wrong side and make a running stitch with a needle and thread. If you'd like to go deeper into yo-yo-making, this is my favorite how-to ever, from Heather Bailey,
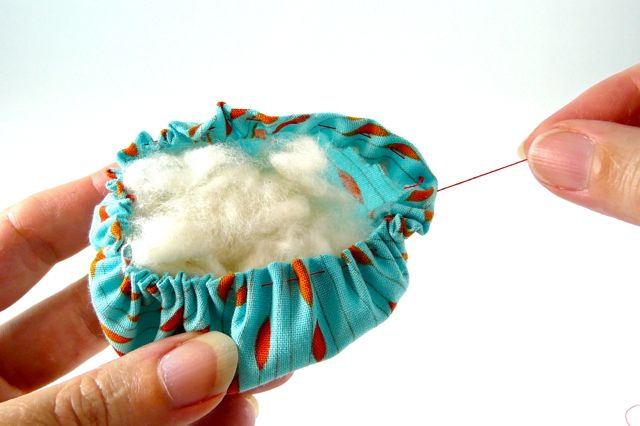
When you've folded and stitched all the way around the edge, pull the thread to start gathering the fabric. Adjust the gathers so they're fairly equal all the way around. Then pop in a wad of fiberfill about the size of a kiwi fruit. Or a small lime. Eat what you like.
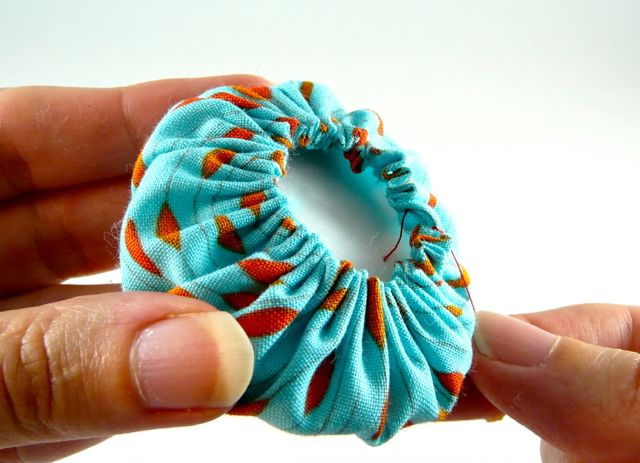
Slip that card stock circle in on top of the fiberfill. Pull the thread a bit more so the yo-yo is lightly snug around the card stock. Don't knot or cut your thread just yet.

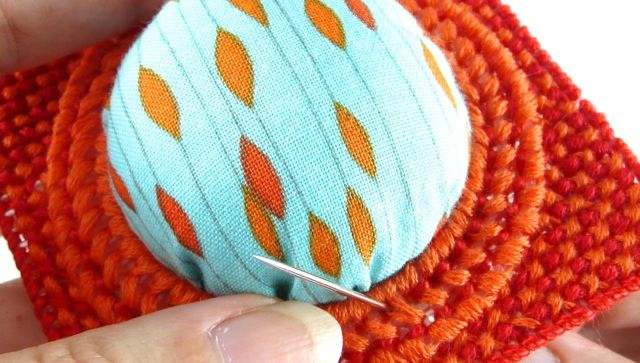
Pop the pin cushion into the ring now. From here, you may want to do a little adjusting. You may want to move the gathers in the fabric around to minimize any big creases. You may also decide to open the back of the yo-yo and slip in a little more fiberfill. Basically, just fuss with the thing until you like the look of it, and then go ahead and knot and cut your thread at the back of the pin cushion.
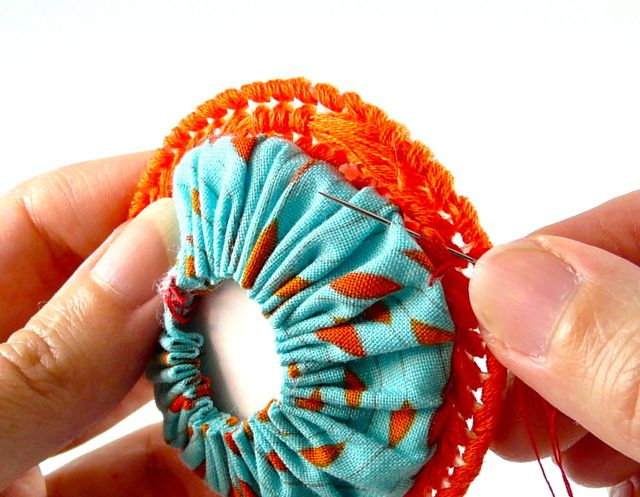
Now, sew around the edge of the pin cushion at the back, anchoring the fabric to the back of your PC stitching. This stitching will be 100% hidden, so don't worry about being too fancy – just catch a little fabric and a little floss in each stitch.
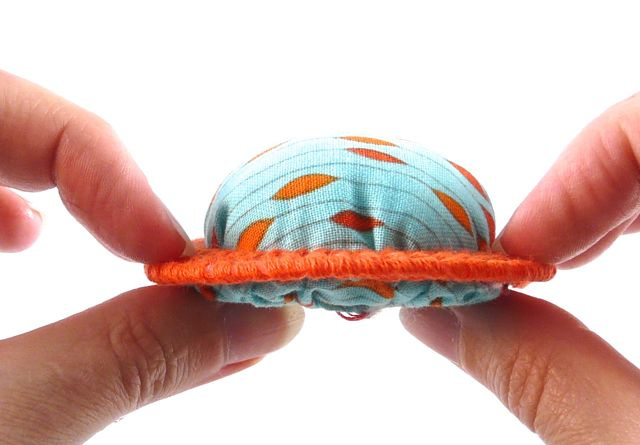
When that's done, the bottom of your pin cushion should be reasonably flat, like this. If it isn't, push your thumbs up into it to flatten it.
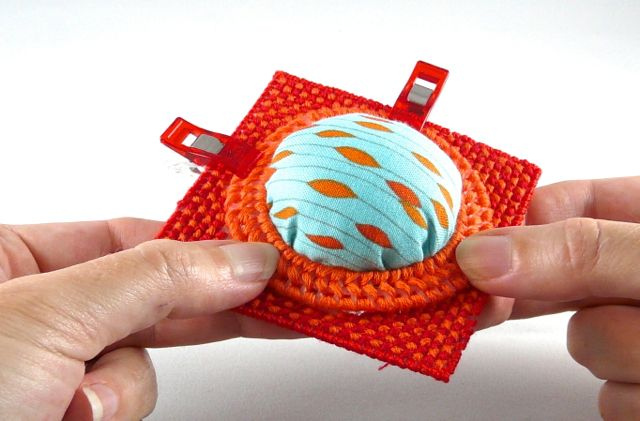
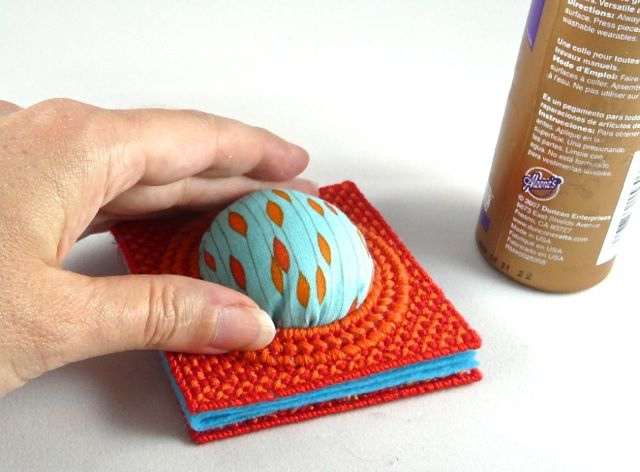
Pop that pin cushion onto the front of your needle book, and use a few Wonder Clips (handiest supply known to man) to keep it centered.
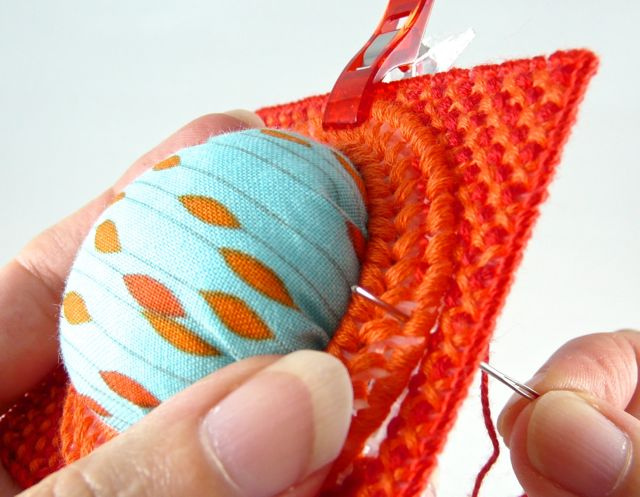
Attach the two pieces together using a back stitch that goes around the ring, just inside the outer edge. I used a single strand of pearl cotton for this part, but you can use a six-strand strand, too. It'll just be thicker.
You can stitch right through both layers of PC, but you may have to feel around a little for where the holes match up.
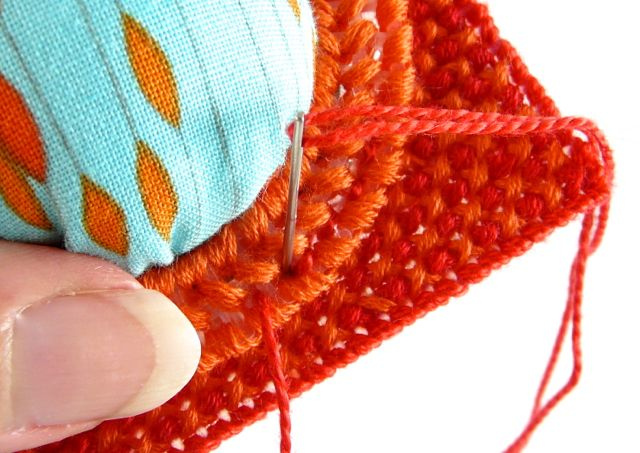
Now, I also back-stitched around the inner edge of the ring – but this row is considerably less fun, because you're also stitching through the edge of that card stock in there. Switching from a dull-pointed needlepoint needle to a sharp-pointed crewel needle helps, but even so - you can really consider this step more of an anal-retentive nicety, and totally skip it. :-)
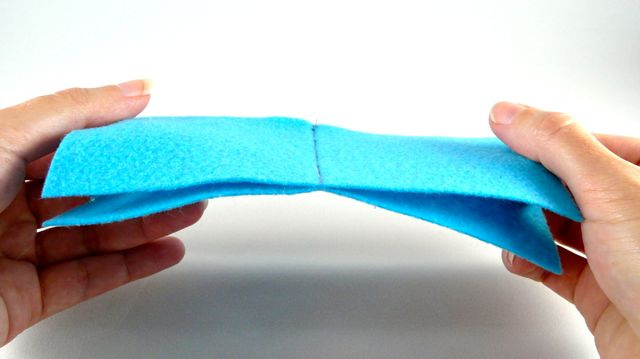
OK, so let's make the inside pages of the needle book now. Cut two pieces of felt just slightly smaller than your two covers placed side-by-side. (So in this case, 3" x 6 1/2".) Sew them together up the center by either hand or machine. Fold the whole thing in half, with that seam on the spine.
Trim the outer edges of the pages a little if you need to. This is the alignment you want them to have with the covers.
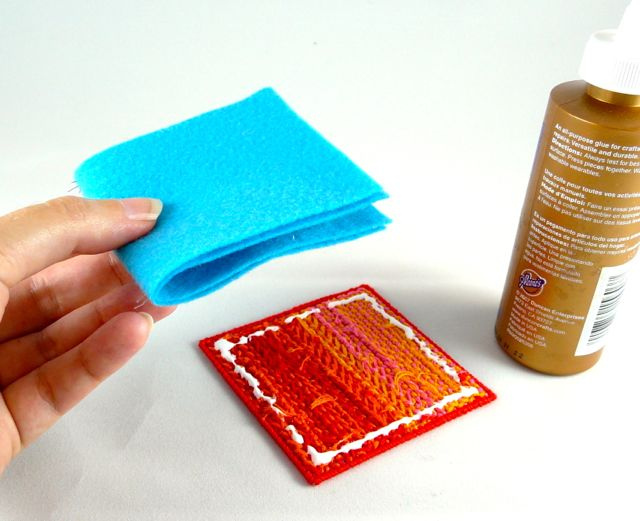
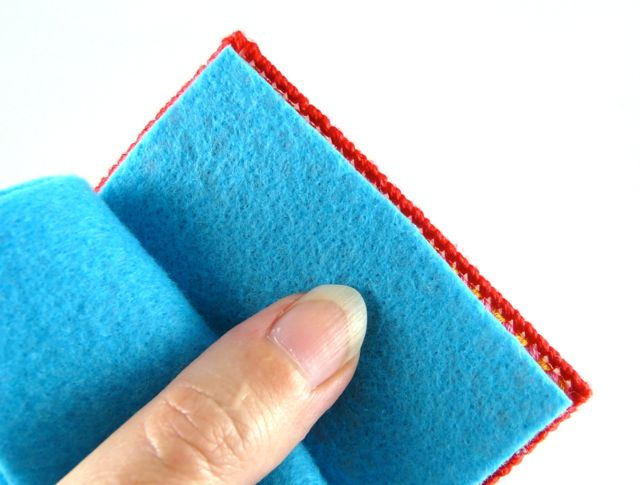
We'll assemble the whole thing with craft glue. Put some around the edges of the back cover first. Place your folded felt over that, lining up the edges carefully.
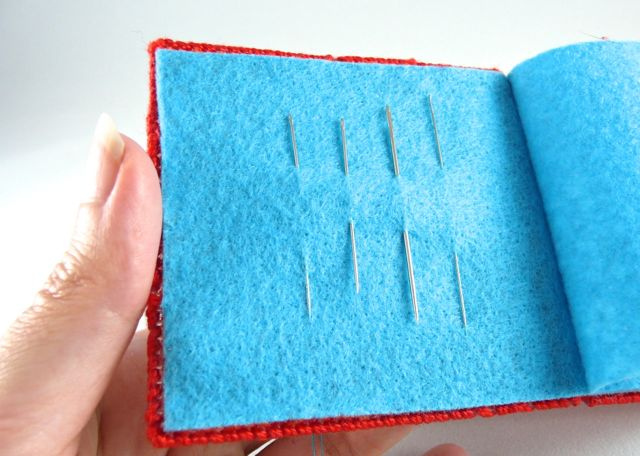
(I glue only the edges so I can insert needles into the center of the glued part later, like this:)
Glue the top cover on in the same manner.
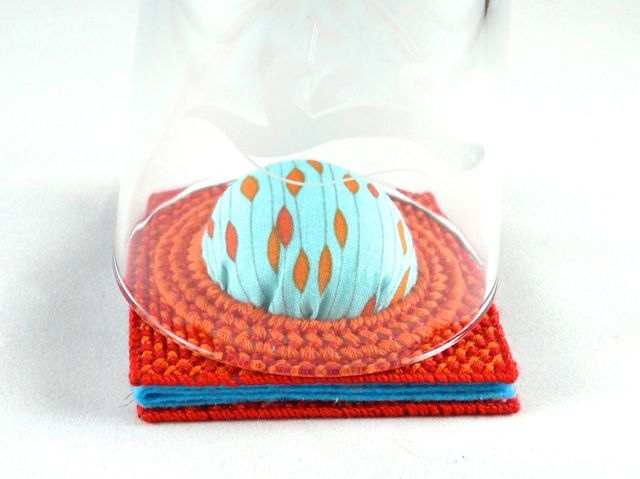
Now, you need to give the whole thing some even pressure while it's drying, so get a glass or jar with a mouth big enough to fit on the top cover. Invert it over your needle book and leave it there until the glue dries.

And voila! You're done! As you can see, you can vary the amount of stuffing you put into your pin cushion, making it very puffy or not so much. This shot also shows you a different style of cover stitchery.
In case you missed it, there's lots more PC goodness at these blogs:


![[Valid RSS]](../../../sites/files_cp7/valid-rss.png "Validate my RSS feed")
Comments
These are adorable!
Thank you so much for sharing the tutorial!