You are here
How to make a gift box from an old greeting card!
I was teaching a card-making class over the weekend, and the nicest woman ever said to me, "Have you tried making boxes from your old cards?"
Well, I hadn't, so she showed me the coolest method for converting an old greeting card into a spanking little gift box. And not only that, at the next day's class, she brought me a pile of blank greeting cards, so I could show this to the next Church of Craft meeting. Unbelievably kind! Thank you so much, Deanna.
So, this technique is so exciting, I had to share. You may not be ready to look at Christmas stuff yet, so just imagine a Halloween card in its place if you need to.

Start with a greeting card. If there's writing on the inside, you can glue-stick some paper over it to cover it up.

Cut the card in half along the fold.

Take one half of the card. Trim about 1/8" off of one long side, and one short side. (If you have a paper cutter, of course, use that.) You do this so that the bottom of your box will be slightly smaller than the top, and they'll fit nicely together.
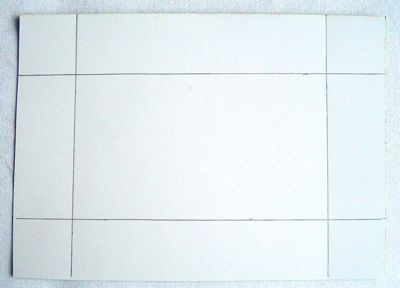
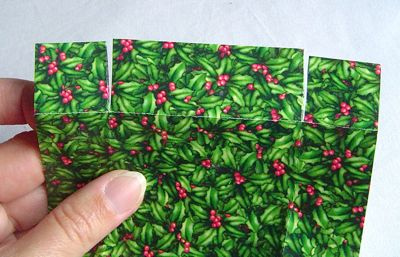
Now, make a score 1" from the edge on all four sides. (If you have a paper cutter with a scoring blade this is easy. If not, you can use a ruler and a bone-folder, or even a ruler and an empty ball-point pen to make the scoring.)
I've marked my score lines in heavy pencil here, so they're visible in this tutorial. You probably won't want to make any marks on your card.
Fold the card along all four score-lines. Then, score and fold the other half of the card in the same way.
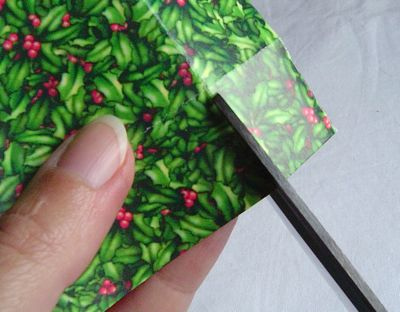
Now, at the shorter ends of each piece of card, you're going to make two small cuts, where the two folds intersect. The second photo explains this better than I'm doing.
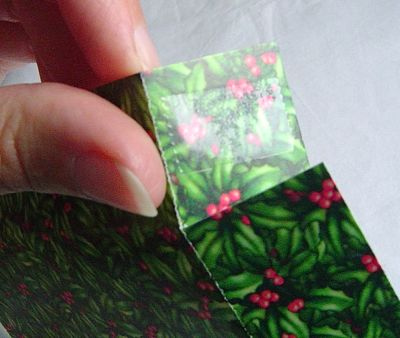
Put a little tab of double-stick tape on each of the resulting flaps.
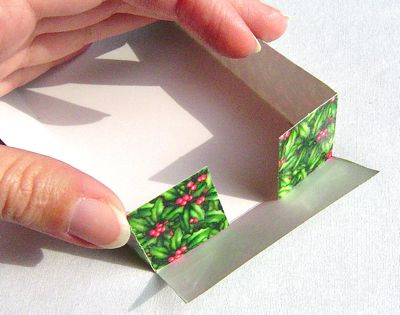
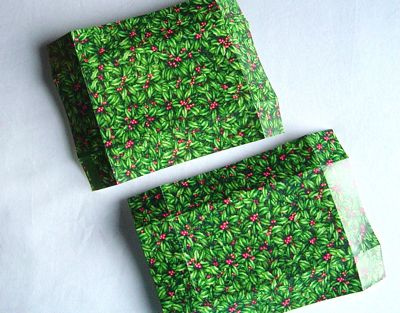
Now, fold up the long sides of your box, and fold these tabs in as shown.
. . . And fold up that end flap and press the tape to stick it in place.

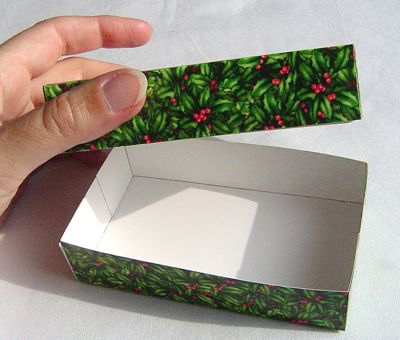
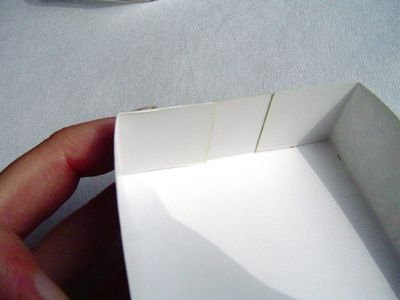
Make the other half of the box in the same way, and presto!
I can see these for little gifties, but also for cool holiday-dinner favors/placecards. And keep in mind that you can vary the size and depth of these by simply changing the location of your scores. You can score 2" from each edge, for example, and get a much smaller, deeper box - suitable for a gift of homemade truffles.

![[Valid RSS]](../../../sites/files_cp7/valid-rss.png "Validate my RSS feed")
Comments
i learned this technique watching carol ? on the good morning show about 20 years ago,but wasn't able to remember the corner cuts, anyway i saw this cute poem and wanted to make some boxes for it. i did this with my grandaughter and her kindergarten class. thanks for the instructions now i can do it with her son Bless the day Pat
Pages